Ledger® Live: Wallet | Getting Started | Ledger® Support
Welcome to Ledger® Support. This guide is designed to help you get started with Ledger® Live, the official wallet interface for managing your crypto assets with a Ledger hardware wallet. Whether you’re new to cryptocurrency or upgrading your wallet solution, Ledger Live offers a secure, user-friendly platform to store, send, receive, and grow your digital assets.
What is Ledger Live?
Ledger Live is the official software companion to your Ledger Nano S Plus or Ledger Nano X hardware wallet. It acts as a secure bridge between your Ledger device and the blockchain, allowing you to manage thousands of crypto assets from one interface. With Ledger Live, you can:
- View balances in real time
- Send and receive transactions
- Install and manage crypto apps
- Stake supported assets
- Access Web3 services securely
Unlike hot wallets or exchange wallets, Ledger Live works offline-first, meaning your private keys remain stored on your Ledger device—not on your computer or online.
Getting Started with Ledger Live
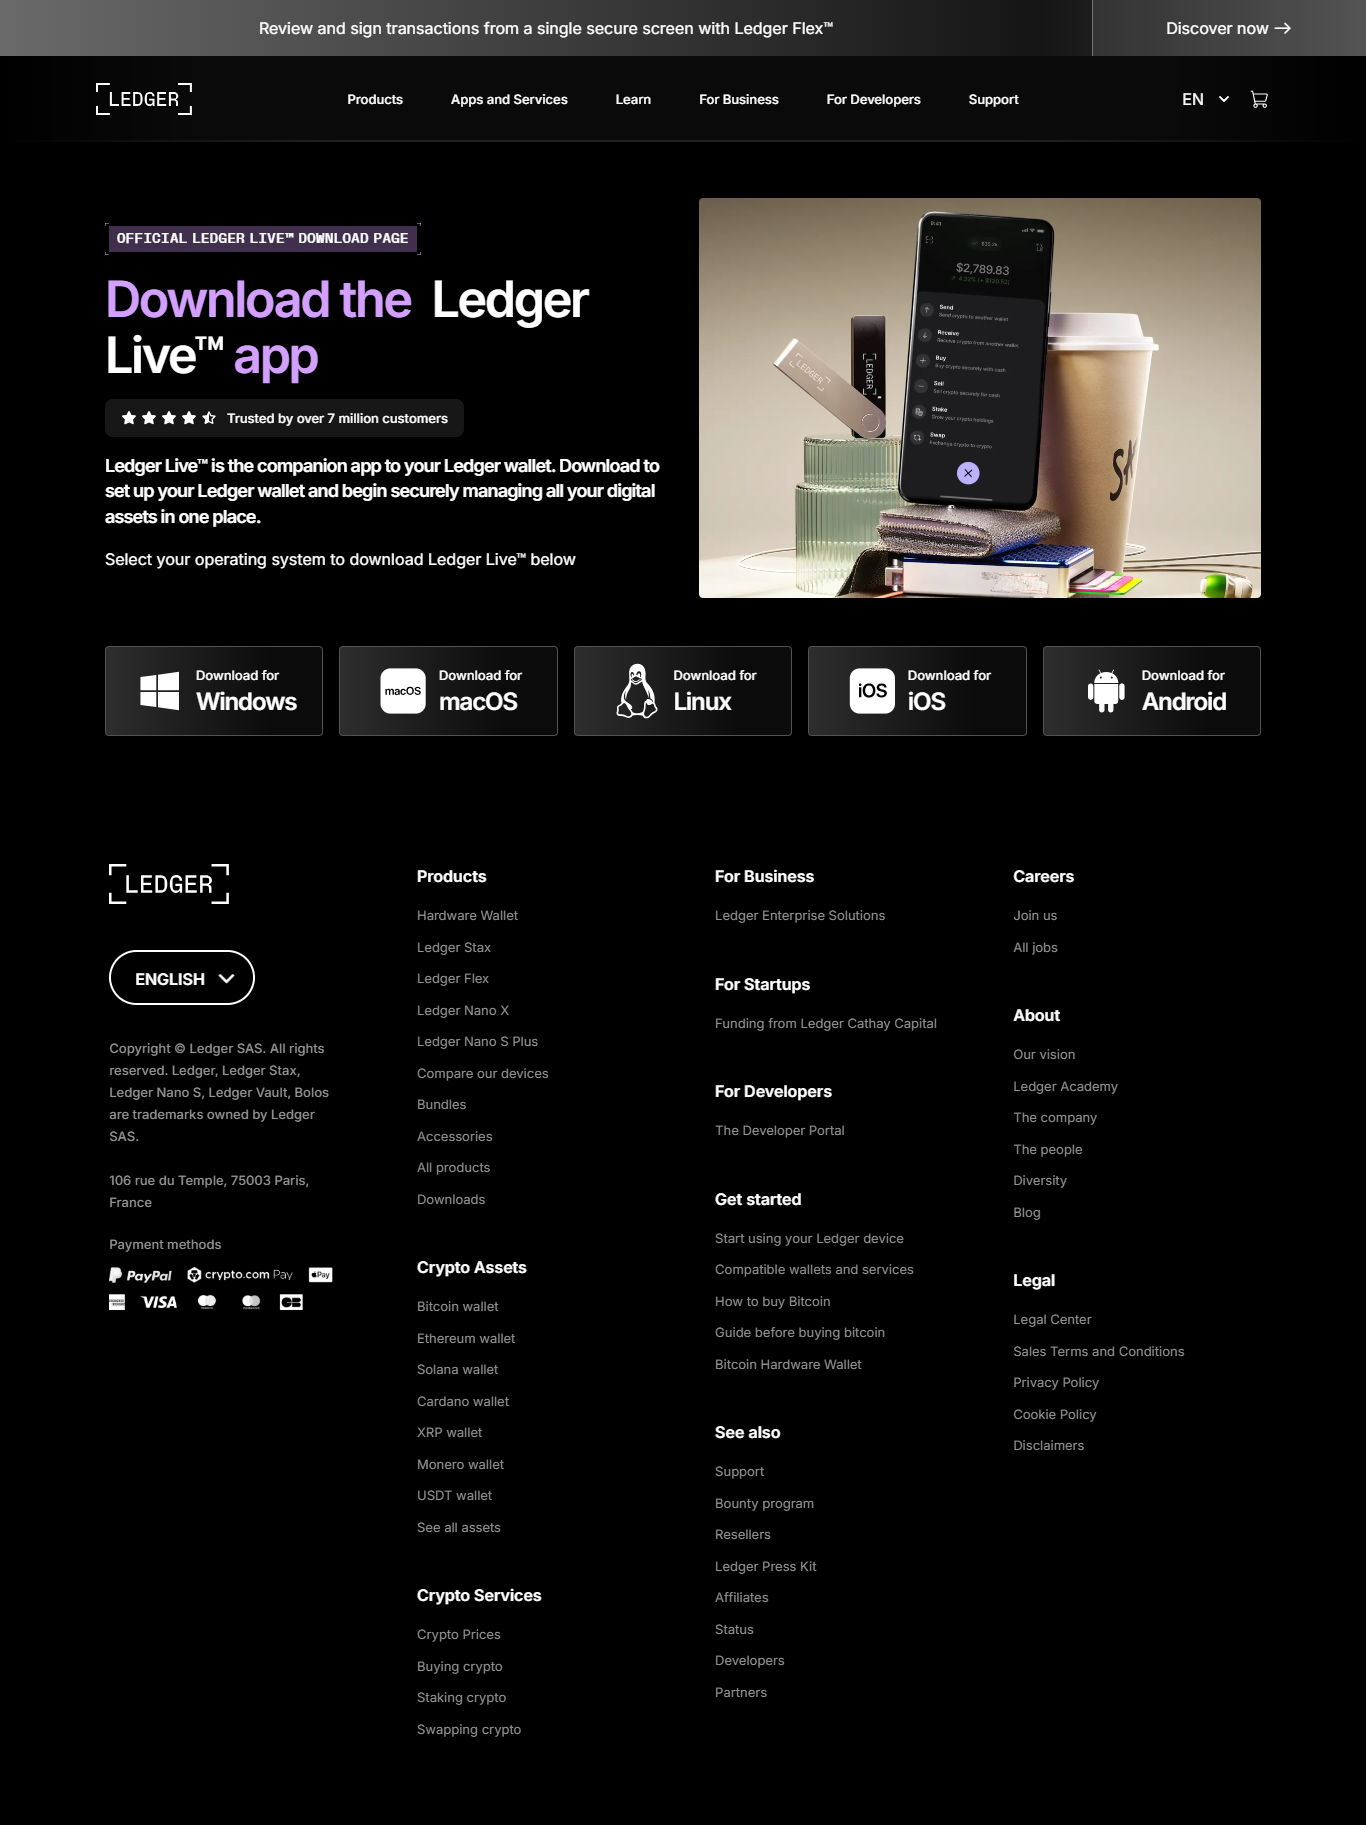
Step 1: Download Ledger Live
To begin using Ledger Live:
- Go to the official site: https://www.ledger.com/ledger-live
- Choose your operating system: Windows, macOS, Linux, iOS, or Android.
- Download and install the Ledger Live app.
Step 2: Set Up Your Ledger Device
If you haven’t already, initialize your Ledger hardware wallet:
- Connect your Ledger Nano X or S Plus via USB (or Bluetooth for Nano X).
- Follow on-screen instructions to:
- Create a PIN code
- Write down your 24-word recovery phrase
- Confirm the phrase on your device
Step 3: Pair Ledger Live with Your Device
- Open Ledger Live and select “Set up a new device” or “Connect existing device”.
- Choose your device model and follow the guided steps.
- Once connected, Ledger Live will verify your device’s authenticity.
- You may be prompted to allow Ledger Manager—confirm this on your device.
Step 4: Install Crypto Apps
To manage specific cryptocurrencies, you’ll need to install corresponding apps on your Ledger device:
- In Ledger Live, go to the “My Ledger” tab.
- Connect your device and enter your PIN.
- Search for the app you want to install (e.g., Bitcoin, Ethereum).
- Click Install.
Each installed app enables support for its corresponding blockchain.
Step 5: Add Accounts
Now that your apps are installed:
- Click “Accounts” > “Add account”
- Choose a crypto (e.g., Ethereum).
- Connect your device and let Ledger Live sync with the blockchain.
- Once completed, your account will be visible in the Ledger Live dashboard.
Step 6: Start Using Your Wallet
From your Ledger Live interface, you can now:
- Receive Crypto:
- Click “Receive”, select an account, and verify the address on your Ledger device before sharing.
- Send Crypto:
- Click “Send”, paste the recipient address, enter the amount, and confirm the transaction on your device.
- Check Portfolio:
- View your asset distribution and balance in real time.
- Stake Assets:
- Stake coins like Ethereum, Solana, or Polkadot to earn rewards directly from Ledger Live.
Security Best Practices
- Never share your 24-word recovery phrase with anyone.
- Keep your device firmware and Ledger Live app updated.
- Verify every transaction on your hardware wallet screen.
- Avoid browser extensions or unofficial software claiming to be Ledger.
Ledger Live ensures you stay in full control of your crypto at all times.
Troubleshooting Common Issues
Ledger Live not detecting device?
- Try another USB port or cable
- Restart your computer and device
- Make sure you’ve allowed Ledger Live to access the device
App won’t install?
- Check that your device has enough storage space
- Uninstall unused apps to free memory
- Update your device firmware if needed
Transaction not going through?
- Check network fees and confirm wallet synchronization
- Wait a few minutes for the blockchain to process
Need More Help?
- Visit the Ledger Support Center
- Explore the Ledger Help Videos
- Reach out to Ledger’s official support team if your issue persists
Take Control of Your Crypto
Ledger Live and your Ledger hardware wallet are designed to give you complete ownership over your digital assets—without relying on third parties or exchanges. With the right setup, you can safely participate in the world of crypto, Web3, and DeFi, with the peace of mind that your assets are protected.
Get started today with Ledger Live: Your Wallet, Your Way.